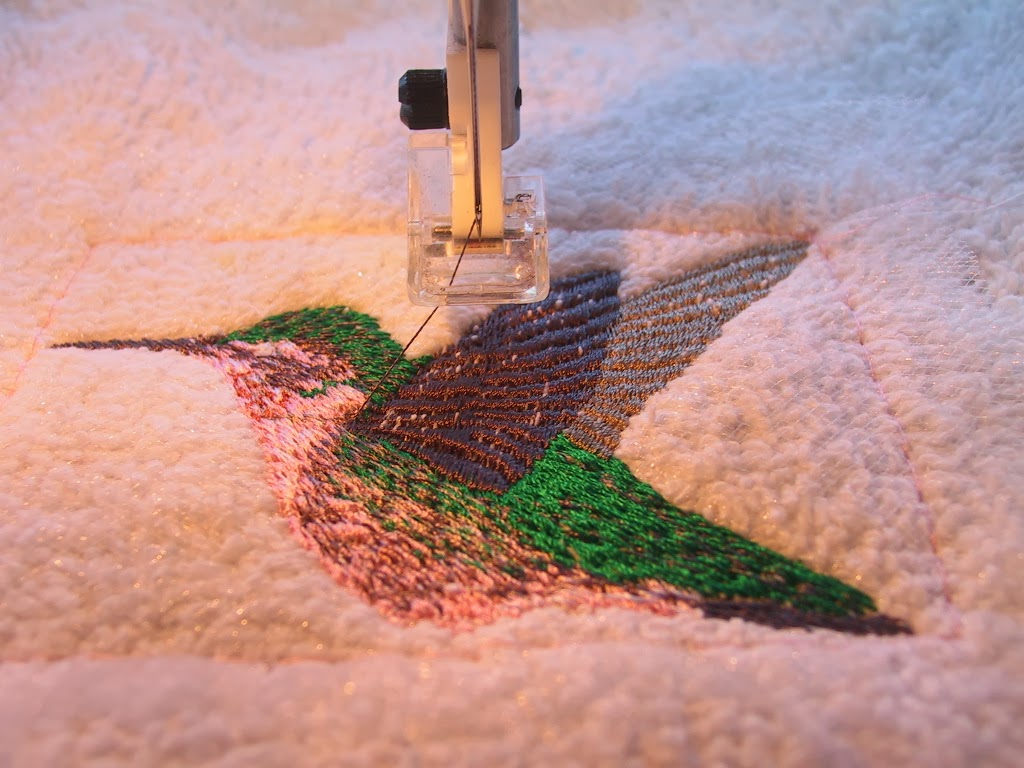
My sister bought a basic sewing machine and it did not have a cover. I volunteered to make her an embroidered cover. Many months passed until I finally found the perfect designs that I wanted to use at Urban Threads. The finished cover started with Such a Doll which reminded me of Tim Burton's movie, Coraline. When I saw Raven Scissors, I knew that it had to be included in the design. Button Cluster rounded out my scene. (Finished project photo is at the bottom of this post.)

I had made my own bias binding years ago for a project and never used it. This was the covering for my cord to make piping! You can find instructions on how to do this on loads of web sites.

Next step is to encase the cord with the bias binding. Butt the zipper foot right up to the cord and move your needle to the left. Don't worry on this step about having the stitches tight up against the cord. I left a little room so that I could move the subsequent stitches in the next steps closer.

It is impossible to get a 90 degree corner when you are adding piping. Pin the piping onto the right side of your fabric on the sewing line and ease the rounded corner by clipping the curves.
Butt your zipper foot up to the piping and move your needle closer to the piping to sew it on. Go slowly at the rounded corner and follow the previous stitching on your piping.

Now pin your other piece of material with the right sides together to the piece with the piping. Butt the zipper foot snug to the piping on this new piece of material. Move the needle position as far left as possible and sew your seam. Notice how close my needle is to the piping. Again, make sure to go carefully around the corners.
You may not see it clearly, but I also added the binding to the bottom of the cover. The finished project: